

You know that coconut cakes you see in the old-fashioned diners that twirl around in the tall dessert cases? It looks so awesome but when you take a bite, it just tastes like refrigerated coconut cardboard?
This cake isn’t that.
This cake deserves to be called the best coconut cake you’ll ever make. I didn’t invent it so I can call it that.
Save This Recipe!
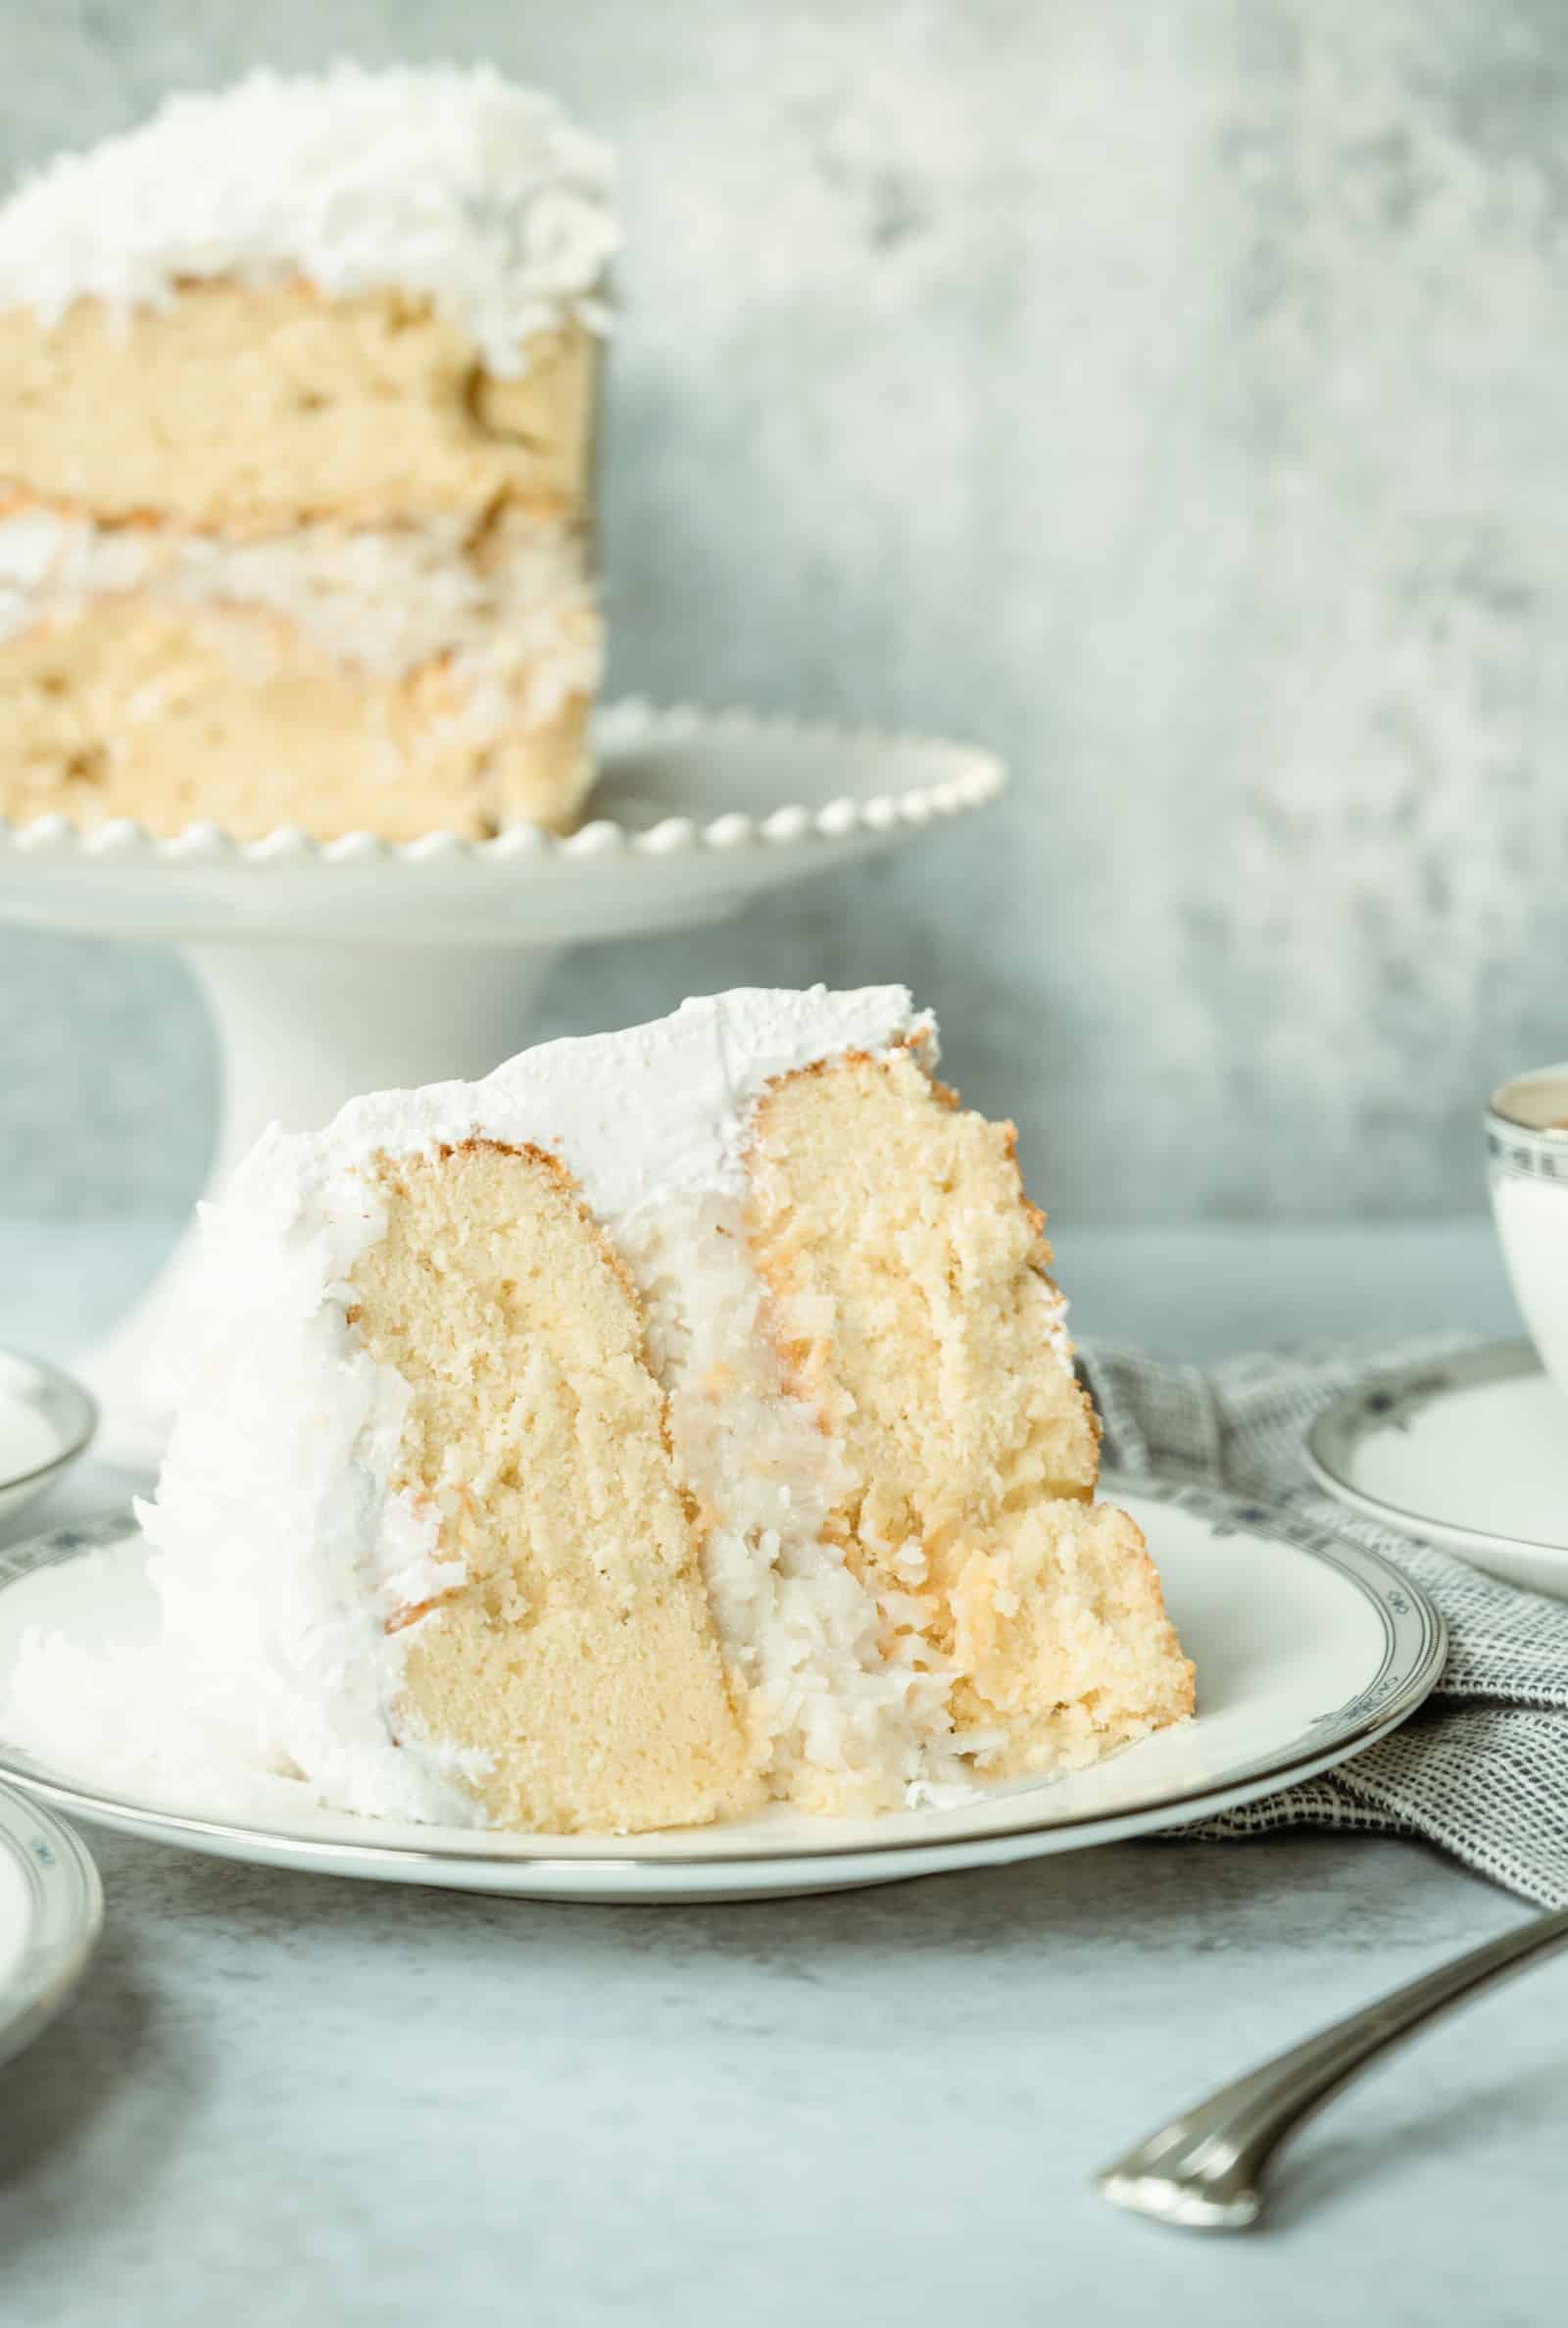
This coconut cake layers a moist, pound-cake-style vanilla butter cake with a rich coconut filling, then finishes with swirls of airy marshmallow frosting for just the right touch of coconut without being overwhelming.
This post contains links to affiliate websites including Amazon. I make a small commission for any purchases made using these links. Thank you!
Coconut is the hero

Sweetened coconut is the key for this cake because I’m a firm believer that dessert should be dessert. If you use unsweetened coconut, you will be disappointed in the flavor an moistness of the filling.
A couple of notes from the trenches:
- Make this the day you want to eat it. While it’s almost as good the next day, any time after that and you’re pushing it.
- GIve this a try as a cupcake – use an apple corer to remove a bit of the center and put the coconut filling in the middle. So good!
The Cake Making Process
A very sturdy vanilla cake batter is the foundation of this coconut cake recipe. This isn’t your dainty, pinky finger kind of cake.
With a moist crumb and texture that is on the denser side, these cake layers easily cut in half if you choose to make thinner cake layers with more filling in between. I cover that in the recipe card.


Layer Cake Fine Print
- I prefer the cake to be in two layers. The original recipe calls for dividing the batter into three pans which means more cake and less filling. You decide.
- Use a ladle with measuring marks (i.e. ½ cup or 4 oz.) and count each time you scoop some batter into each pan while alternating scoops as you go.
- Shimmy that batter back and forth in the pan until it’s evenly distributed and place them in the oven.
The best darn coconut cake filling


While the cake is baking, you’re going to make the cooked filling. Although it seems intimidating, it’s really easy as long as you keep the heat low and slow. You’re just going to be heating milk, sugar, and a little bit of flour together until it thickens up to custard consistency.
And then you’ll mix in the coconut and vanilla and set the whole thing aside while the cake bakes and cools.
Easy, right? Now onto the frosting which I like to call…
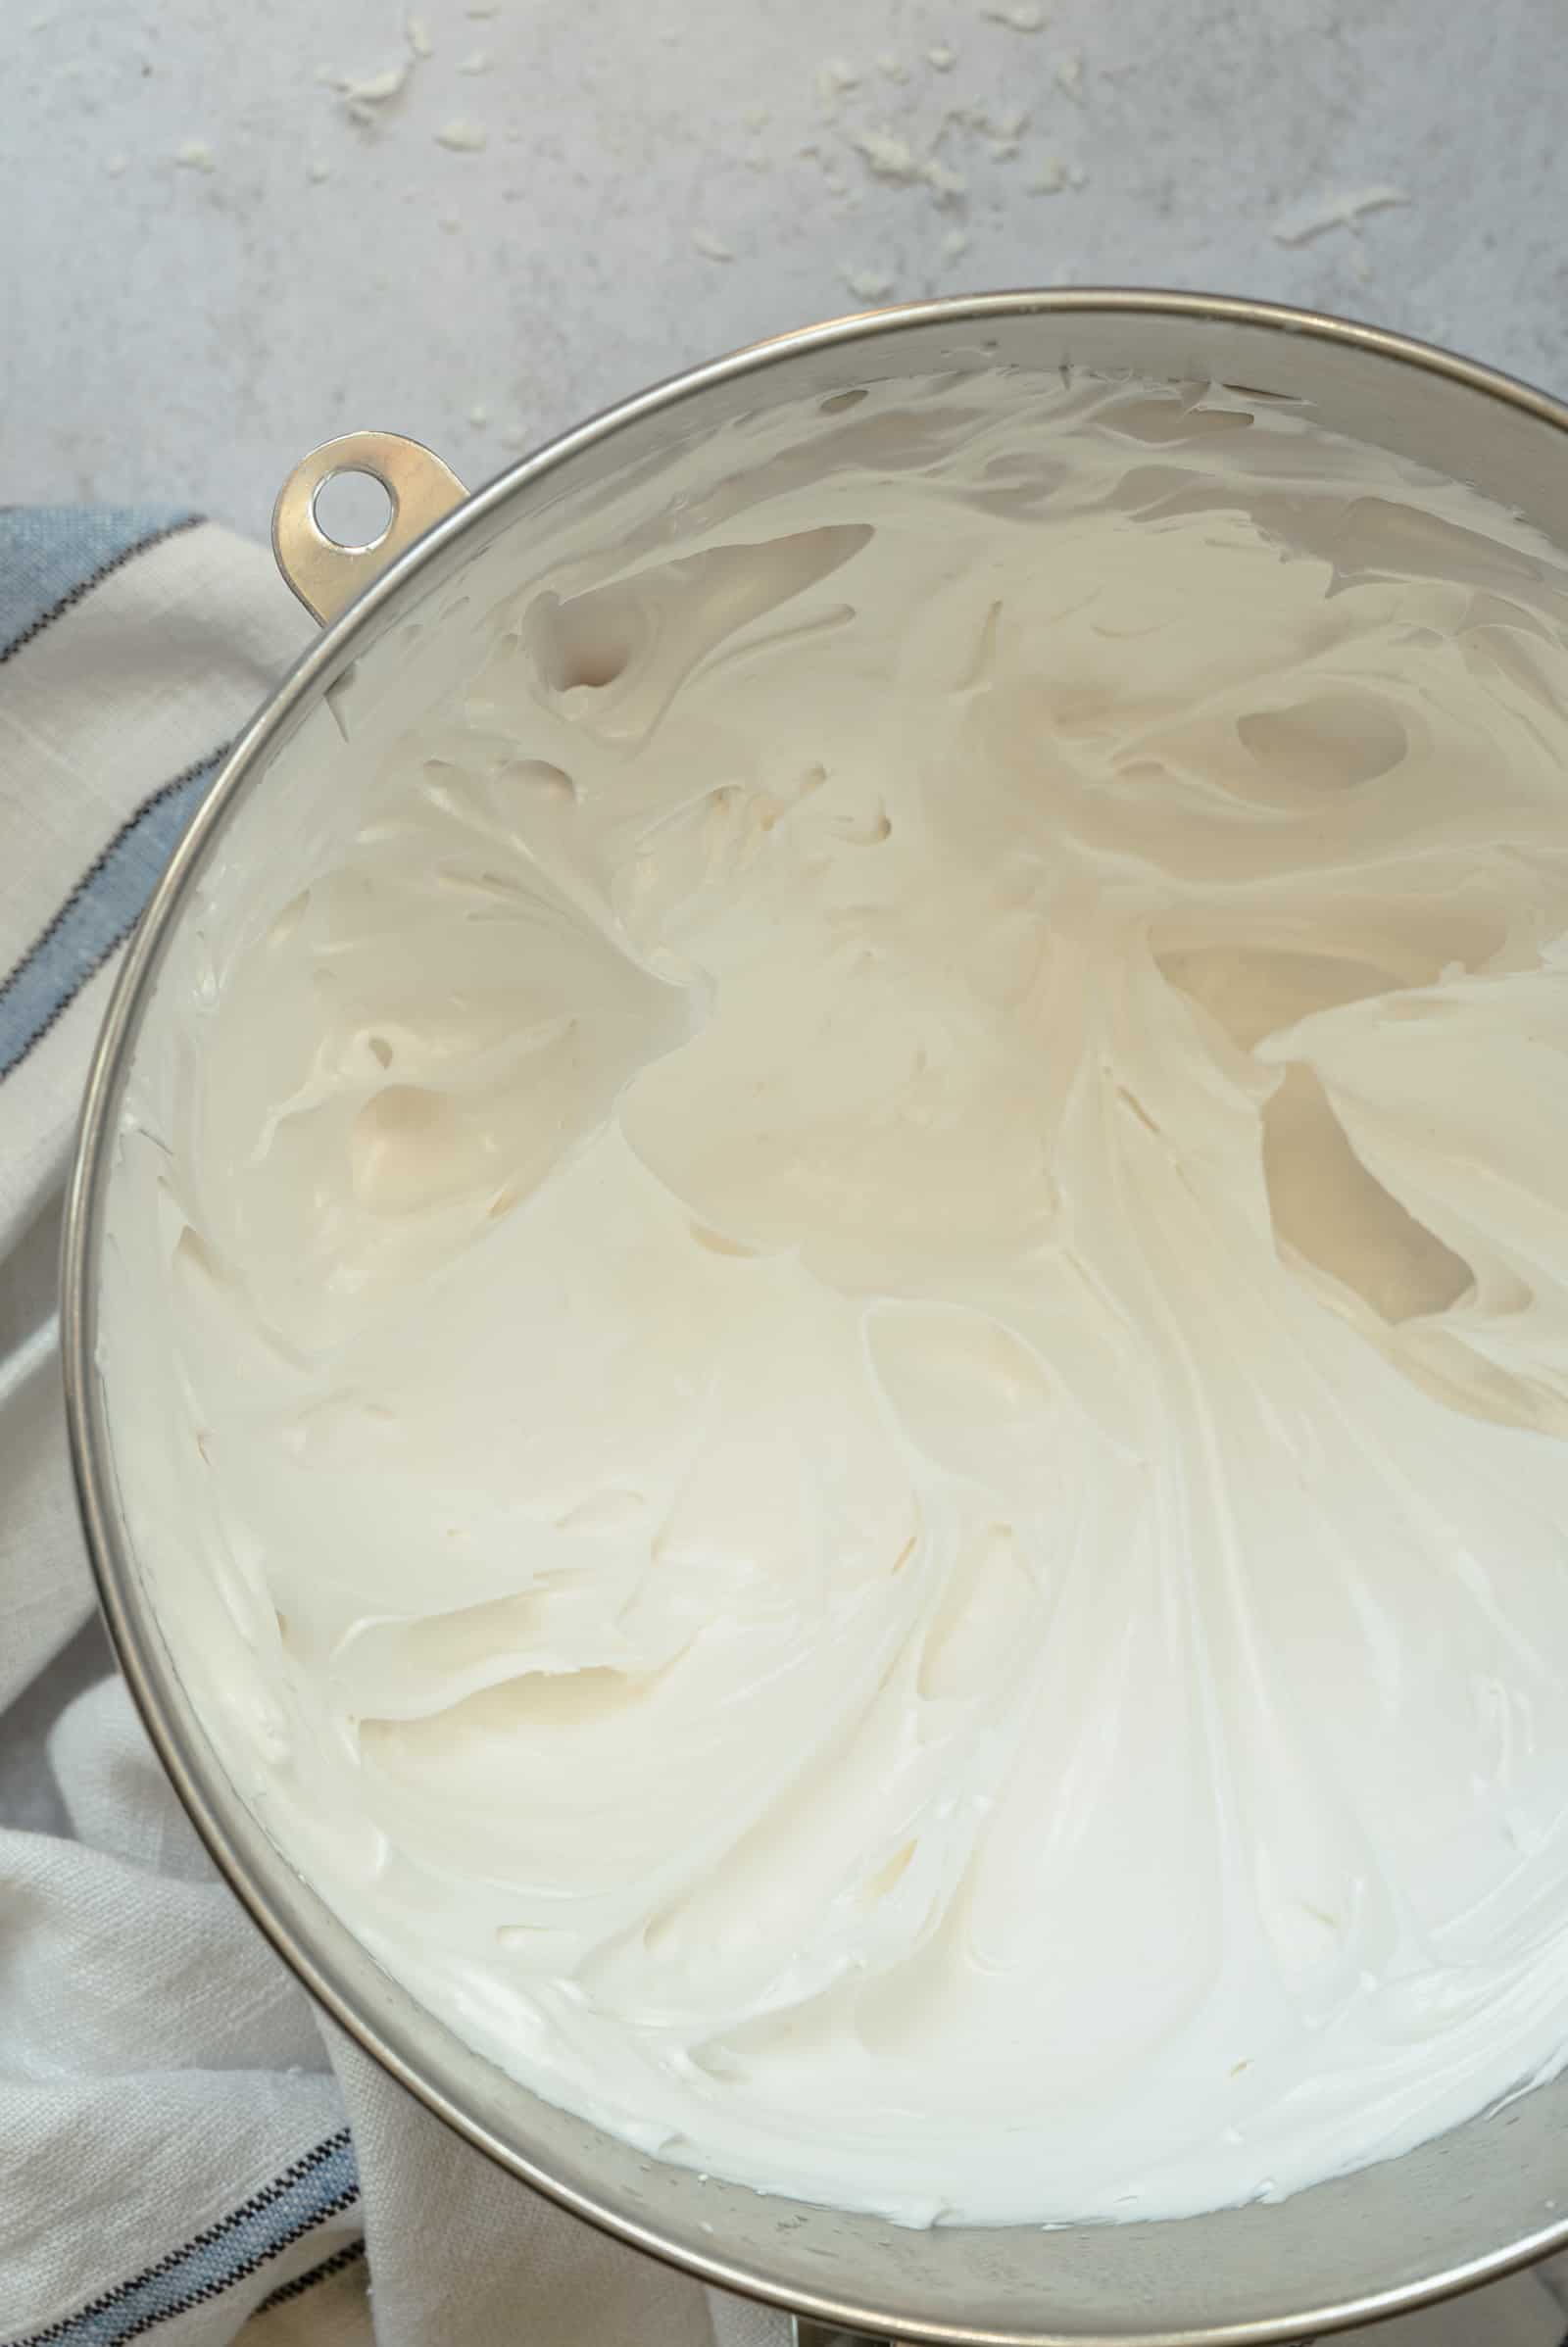
Unbelievably amazing marshmallow meringue frosting
I use a stand mixer to make this frosting. You can use a hand mixer if you prefer.


- Heat water, sugar and a little bit of cream of tartar in a small saucepan and heat for just a couple of minutes.
- Next you’re going to slooooowly pour this mixture into egg whites and vanilla already waiting in a mixing bowl while the mixer is running on medium high.
Filling and frosting


Made this recipe?
I’d love it if you’d share your review and leave a star rating and comment!
Best Coconut Cake
SAVE THIS RECIPE
Ingredients
For the cake
- 1 cup unsalted butter, room temperature
- 2 cups granulated sugar
- 4 larger eggs, room temperature
- 1 ½ cups self-rising flour, I use King Arthur’s
- 1 ¼ cups all purpose flour
- 1 cup milk
- 1 tsp vanilla extract
For the filling
- ¾ cup milk
- ½ cup granulated sugar
- 2 tbsp all purpose flour
- 1 7 oz package sweetened coconut
- 1 tsp vanilla extract
For the frosting
- 3 large egg whites
- 1 ½ tsp vanilla extract
- ½ cup cold water
- 1 ½ cups granulated sugar
- ¼ plus ⅛ tsp cream of tartar
Instructions
Make the Cake
- Preheat oven to 350. Butter and lightly flour 2- 9"cake pans and line with either wax paper or parchment. You can use also use three (which the original recipe calls for) and you'll just bake the cake a little less [instructions below].
- Combine the flours and place in a medium bowl and set aside.1 1/2 cups self-rising flour, 1 1/4 cups all purpose flour
- Pour the milk and vanilla into a glass measuring cup and set aside.1 cup milk, 1 tsp vanilla extract
- Cream the butter in a large bowl or electric mixer fitted with a paddle attachment. Beat until light and fluffy and then add the sugar. Continue beating for three minutes. Add the eggs, beating well after each addition.1 cup unsalted butter, 2 cups granulated sugar, 4 larger eggs
- To the mixer, add the dry ingredients alternately with the milk and vanilla mixture in four groups, beating well after each and ending with the milk. You'll have a smooth mixture by the end.
- Divide the batter evenly among the pans. [see notes below]
- Baking instructions: Two pans: Bake for 25-30 minutes. Three pans: Bake for 20-25 minutes. Either way, a cake tester inserted in the middle of the cake should come clean letting you know when the cakes are done baking.
- Let cool for 10 minutes in the pan. Remove the cakes from the pan to a wire rack until completely cool. Check out this video on how to remove a cake from a pan.
Make the Filling
- Combine the milk and sugar in a medium saucepan. Whisk in the flour and bring to a boil over medium heat, whisking the whole time until thick and bubbly, which should take about 5 minutes.3/4 cup milk, 1/2 cup granulated sugar, 2 tbsp all purpose flour
- Remove from heat and add coconut. Stir in vanilla, cover and set aside to cool completely.1 7 oz package sweetened coconut, 1 tsp vanilla extract
Make the Frosting
- Get ready by putting the egg whites and vanilla in a large mixing bowl. Set aside.3 large egg whites, 1 1/2 tsp vanilla extract
- In a small saucepan, combine the water, sugar, and cream of tartar over high heat. Bring to a boil for 2-3 minutes, counting once the mixture begins to bubble on the edges. Remove from heat.1/2 cup cold water, 1 1/2 cups granulated sugar, 1/4 plus 1/8 tsp cream of tartar
- On medium-high speed with either a hand or stand mixer, beat the egg whites and vanilla until foamy approximately 1 minute.
- Keep the mixer on and with a thin, steady stream, sloooowly pour the sugar water mixture into the egg whites. Continue to beat on medium-high until fluffy and stiff peaks form. This will take around 5 minutes and the frosting will be bright, white and glossy. Try and resist tasting it. Or you'll eat the whole thing. And your cake will be lonely.
Assemble the Cake
- Place one layer of cake on your serving platter or cake plate and spread 1/2 of the filling on top. If you’re only using two layers, use as much as makes sense to you and save the rest to eat vanilla wafers or graham crackers and chocolate for an upscale s’more.
- Place the next layer on (and repeat steps 1 & 2 if necessary).
- Frost the top and sides of the cake with the frosting.
- Top with extra sweetened coconut.
Notes
- I prefer the cake to be in two layers. The original recipe calls for dividing the batter into three pans which means more cake and less filling. You decide.
- I use a 4 oz. ladle and alternate scoops between pans, counting as I go.
- Shimmy the pans back and forth to evenly distribute the batter.
- Place a towel in the bottom of the sink and your mixing bowl with the egg whites/vanilla on top of that.
- Hold the mixer in your dominant hand and the saucepan in the other. Starting on low and working up to med-high, follow the steps above for making the frosting.
- Make the cake layers ahead of time and once completely cooled, wrap in plastic wrap and then foil. Place in large freezer bags and freeze. Defrost completely in the fridge overnight before frosting.
- The filling can be made the day ahead. Bring to room temperature before filling the cake.
- Make the frosting the day your plan to serve it.


My mouth is watering for this cake! I’m trying so hard to be gluten and sugar free but this may just have to make a valentine’s day appearance. Everything in moderation, right? 😉
Double the size needed for 2 pans, 9 inch! Please cut recipe in half or warn of consequences.
Did you even make this? It was delicious and a hit, even though I left out some sugar. I also toasted some of the coconut to good effect as applied to the outside of sides after icing.
I now have an extra cake in my fridge I really shouldn’t eat.
So glad the cake was a hit and you enjoyed it! Love the idea of the toasted coconut. Sounds delicious! I am sorry that the amount of batter didn’t work for you. I note in the recipe and the post the option to use 3- 9″ pans or 2 and that I prefer the thicker layers using two. I have made this cake many times and only with 9″ pans. I’m jealous that you have extra cake in your fridge!
Tried this cake as a gift for my brother in law. It came out beautifully. I have extra frosting leftover. How can I store it? Will it stay in the fridge?
Thanks
Antonia
What a special gift for your brother in law!! Thank you for trying it and happy it was a success! Yes – it will stay in the fridge for a couple of days in a sealed container. After that the frosting starts to firm up a bit. Enjoy!!
Hi, did you put in all of your cream of tarter in to the sugar and water mix and some of it in the egg whites? Or do you suggest putting in all of the tarter in with sugar?
Thanks a bunch!
Hi Sania! Great question – add it right to the water mix in the saucepan. Let me know if you have any problems. I’m thinking of doing a short video on making the frosting. It’s really easy but I will admit the first time I made it, I was a tad nervous!
You’re too kind! I’ll keep an eye out for the frosting tutorial, and can’t wait to try this cake at home 😌
You bet! Thank you for your question – it really helps so much! And if you’re on my mailing list, then you’ll be one of the first to know when I post it. Have a great day, Sania!😊
Do you think I could use unsweetened coconut replacing the sweetened coconut — to reduce the amount of sugar? Or is the sweetened coconut essential to the overall taste of the cake?
Thanks Laura! I think it would be totally fine to replace it on top of the cake. Since the filling is the star of the cake (although the frosting is like the best marshmallow fluff), I might try using half unsweetened and half sweetened.Just make sure that the unsweetened is a finer flake as it might be harder to cut and might be chewier. Now you’ve inspired me to try it – let me know how it works!