
If making homemade bread feels a little out of your wheelhouse, toss around the idea of making homemade focaccia. This simple Italian focaccia recipe will fill your home with the smell of baking bread but —you’ll barely have broken a sweat.

Save This Recipe!
I was inspired to make homemade focaccia bread after watching Samin Nosrat of Salt, Fat, Acid, Heat (Netflix) visit the Italian town of Liguria. Liguria apparently is known for its focaccia bread and their technique of rising focaccia in a brine was a technique I knew I had to try for myself.
↠And if you really love a good focaccia bread recipe, be sure to give this focaccia barese with potato a try. It has potato in it (yup, just one!) and is SO moist and decadent!
Readers say
Made it today and it’s even better than I expected. I did a two hour rise first because I didn’t have three hours. Otherwise followed the instructions. Added fresh chopped rosemary and sprinkled garlic salt. Got it ready to use with a charcuterie board. Amazing!
This post contains links to affiliate websites including Amazon. I make a small commission for any purchases made using these links. Thank you!
Ingredients needed for Italian focaccia
Made in one bowl and one sheet pan, the only other things you need are:
- a little time
- basic baking ingredients like flour and salt
- yeast
- olive oil
How much olive oil?!

To make good focaccia bread, you have to accept that you are going to use what feels like a boatload of olive oil.
As my kids like to say, “it is what it is.”
Olive oil contributes to:
- the flavor of the dough
- the crispness of the crust
- making the perfect foundation for the flaky salt to cling to on top
This isn’t a time to use your cheapest EVOO. Use the good stuff with some flavor. (Btw – this California olive oil is one of my top picks.
In addition to olive oil, there are few techniques and ingredients that contribute to a fluffy focaccia.
Simple focaccia bread techniques

Layering of Ingredients. As with any good home-baked bread recipe, order matters.
Actually the most important rule when it comes to any focaccia bread recipe (or bread) is:
Keep the salt separated from the yeast
Salt slows the action of the yeast keeping it from fermenting.
-Josie + Nina
Proofing. I mentioned that focaccia needs time and that comes in the rising or hanging out stage known as proofing. You’ll proof the focaccia dough TWICE —once in the bowl and once in the sheet pan. Proofing is when all the resting and relaxing leads to rising which contributes to an light, airy texture.
Sugar. To do its thing, yeast needs to be fed and it loooves sugar.
Kneading. Whether in your mixer with a dough hook or by hand, focaccia dough needs to be kneaded (and don’t we all?) to create the texture you crave.
Next up, the critical final step for this homemade focaccia bread via Samin Nosrat.
The secret to great tasting focaccia bread

Samin Nosrat’s focaccia recipe incorporates the Ligurian technique of brining the focaccia dough during the second proof. The brine flavors the dough with just the right amount of salt while adding the perfect amount of moisture to the finished focaccia.
Yep, you’re going to pour a mixture of water and salt all over your bread dough in the pan.
And you’re going to be out of your mind once you taste it.
Focaccia bread: step by step


- Start by stirring 105° water and yeast in a mixing bowl. Add some sugar and let it bubble for a couple of minutes.
- Layer on the flour, olive oil and finally the salt. And then stir the whole thing together with a wooden spoon. The dough will be quite shaggy (1)
- Knead together for about 5 minutes on a floured surface using about 1/4 cup of flour. Don’t over flour the dough (2)
- Add the dough back to an oil wiped bowl (3) and let it rise for three hours until doubled in size (4). See the note in the recipe for a shorter rise time.
Focaccia Pro Tip
You can use your stand mixer. I’ve made it by hand or with a mixer and I will say I prefer doing it by hand. There’s something very soulful about mixing dough by hand and this dough is so easy to work with.
The second proof

Pour about 1/2 cup of olive oil (yes – 1/2 cup!) into the bottom of a large sheet pan. Add your dough to the pan, gently stretching it to the edges. This might take a few minutes.
Add the famous focaccia dimples by using your fingers and pressing into the dough all the way through to the pan, creating holes in the dough. Do this all over the dough and don’t worry about seeing the pan!
The focaccia brine
Pour the salt brine over the dough filling the dimple holes with the salty blessing. And now place it back into a cold oven or warm spot and let it hang out for the second proof before baking until crispy and perfect.
Make ahead
Focaccia bread is best made the day of or the day before you plan to serve it. Follow the reheating and storing instructions in the recipe below.
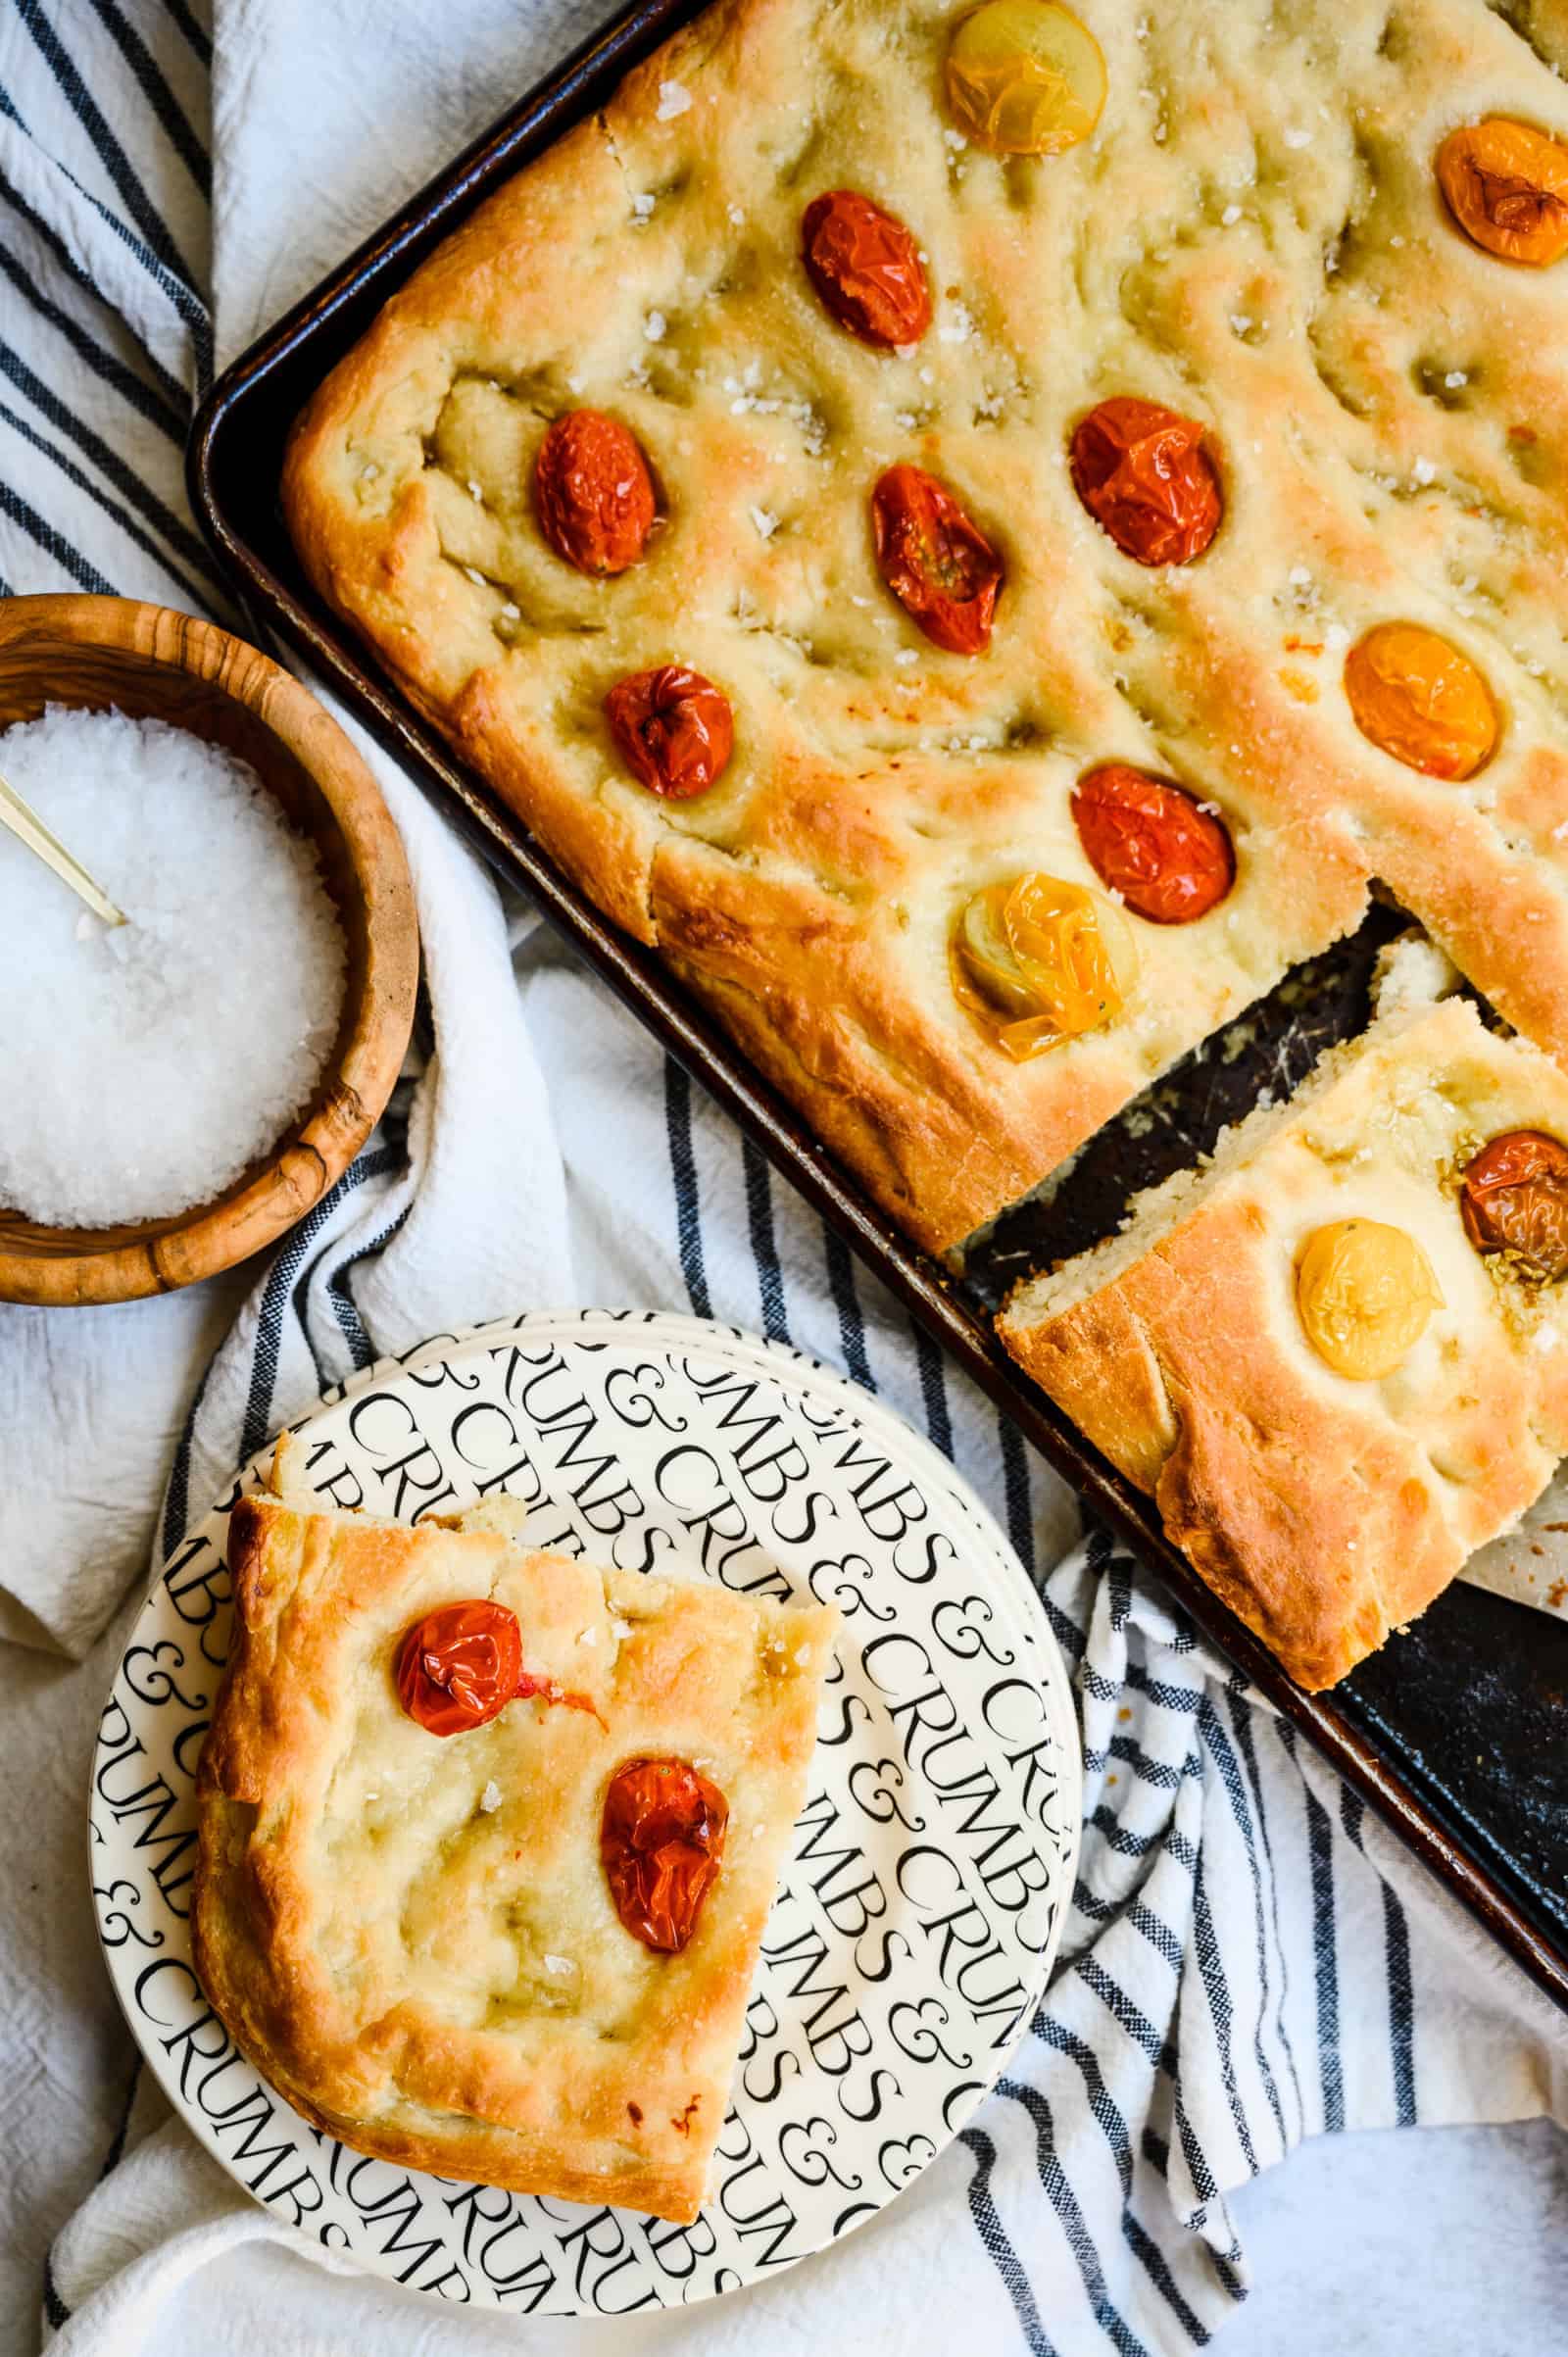
Focaccia toppings
While the dough rises, contemplate what you want to put on top. Some super yummy focaccia bread toppings are:
- cherry tomatoes
- sun dried tomatoes
- cured Italian olives
- rosemary and garlic salt
- figs, rosemary and prosciuitto
- a mixture of cheeses
Focaccia pairings
Stracciatella Italian Wedding Soup
Tips
For a few. Divide the recipe in half and use for sandwiches, to accessorize your favorite soup or salad recipes and more. Or make a pan and wrap pieces in parchment, tie with some cute kitchen twine and share with a neighbor who might be staying home.
For a crew. One pan oughta do it. Cut in smaller squares to serve for a larger gathering.

Made this recipe?
I’d love it if you’d share your review and leave a star rating and comment!

Foolproof Sheet Pan Focaccia Recipe
SAVE THIS RECIPE
Ingredients
- 1 ¾ cup warm water, 105°
- 2 ¼ teaspoons active dry yeast
- 1 Tablespoon sugar
- 4 ⅓ cup all-purpose flour, plus 1/4 cup or so for kneading
- ⅓ cup olive oil, plus ½ cup for the pan
- 1 Tablespoon kosher salt
- flaked sea salt
Topping Options
- tomatoes
- sun-dried tomatoes in oil, drained
- chopped fresh rosemary
- garlic salt
- fresh figs and prosciutto
- cured Italian olive
For the brine
- ⅓ cup water
- 2 teaspoons kosher or sea salt
Instructions
Proof #1
- In a large mixing bowl, add the warm water and sprinkle over the yeast. Stir lightly. Add the sugar and let side until bubbly for about five minutes.
- Layer the flour, olive oil and salt in that order. [see note below]
- Mix by hand with a wooden spoon or by machine (with a paddle attachment) until all the flour is mixed together. The dough will come away from the sides of the bowl in the mixer.
- Turn the dough out to a floured surface. The dough will be very wet which is fine. Knead it together for about 4-5 minutes until the dough is fairly smooth. Flour the dough as needed with the extra 1/4 cup of flour.
- Pour the dough into a mixing bowl wiped with a little drizzle of olive oil turning over to coat the underside.
- Cover with plastic wrap or a clean dish towel and place into an unheated oven or warm place to rise for up to 3 hours until doubled in size. [see note below]
Proof #2
- Preheat the oven to 425°.
- Pour 1/2 cup of olive oil into a large sheet pan that measures approximately 12" x 17". Tilt the pan to evenly distribute the oil.
- Mix the water and salt together in a small bowl and set aside.
- After the first proofing, pour the dough into the oil-lined pan and using your fingers spread out to the sides of the pan. This might take a little effort. If it keeps springing back, let it rest for a bit and get comfy. It'll eventually go where it's supposed to with your encouragement!
- Angle your fingers like you're typing on keyboard into the dough making small holes through to the pan. Don't worry – this will create the classic focaccia dimples and as the bread proofs the second time.
- Pour the salt water brine over the dough filling the holes. Let the dough sit for 45 minutes with the brine on it.
- Bake in a preheated 425° oven for 25-30 minutes until crispy and fluffy.
- Cool for a few minutes before slicing. Sprinkle with additional flaky salt if desired. Serve at room temperature.


Hi Lori. I made your “Foolproof Sheet Pan Focaccia” recipe for the first time. It turned out perfect! I always thought making Focaccia would be too time consuming but your recipe makes it totally possible even on a busy weekend day. I followed your exact instructions. The only thing I was unsure about was if I should cover the sheet pan with plastic wrap/clean kitchen towel during the 2nd proof. I did cover it (w/plastic wrap + cotton tea towel) and it proofed up fine with no sticking. Thanks for sharing such a great Focaccia recipe. I’ll definitely be making it again.
Yay! So happy you enjoyed it Kathy and thank you for trying it. Good suggestion on adding that helpful instruction for covering on the second proof. I usually leave it uncovered so as to not mess with the dimples too much but I have covered it a time or two as well with little to no effect to the fluffiness or texture. Thanks again for taking time to comment and love that you all enjoyed the focaccia! 😊
Thank you! Now I will take the liberty of a little more space to explain why I’d like to refrigerate the dough overnight. We decorate the focaccia with herbs, olives, tomatoes, etc. to look like flowers and butterflies, etc. I want to do that activity with little kids, who I know will be thrilled with what they can create on something so delicious. But placing the dough in the pan, which does take patience and coaxing as you say, pouring the brine, waiting 45 min and then decorating will be all we can handle time-wise and attention-span wise. Thank you again.
Sure thing! So I tested it and it worked beautifully! I have a couple of notes on things I would change and am going to publish a new recipe around this new method (use less olive oil and possibly use a bigger pan for thicker focaccia). I love the idea of decorating it with the kids 🌸 so sweet!
This is a terrific foccacia recipe–thank you. I followed the recipe to the letter today and my only problem was that the holes bounced back after pouring the brine over the dough, so the focaccia did not have a dimpled look. I think my dough was too wet and when I knead it next time (there will definitely be a next time soon!) I will add some more flour.
I have a question though: Have you or any readers refrigerated the dough overnight either (a) after the first proofing of 3 hours; or (b) as the first proofing itself, meaning putting the just-kneaded dough in the fridge before going to bed)? (I realize you might say, as you do in the recipe, that the focaccia tastes better the next day anyway so just make the whole recipe in one day and there is no need to refrigerate dough overnight. I have a reason that will take too much space up here. Thank you.
Hi Kata! Thanks so much and I’m so so happy you enjoyed the focaccia! We have been down a major sourdough rabbit hole in our house the last few months and we do that for the second proofing so…I am testing your idea right now! Keep you posted how it works…if you follow me on IG (@josieandnina), I’m going to give you a shout out for the idea and document it 🤩. Reel coming soon!
Lori do you leave the salt and water brine on ?
Yes! You bake it with the brine on the focaccia right after proofing. Let me know how it goes and if you have any more questions…thanks, Jim!
When are the toppings to be placed on the bread- after 2nd proof? Thanks a bunch!
Hi Emma! Great question – thanks for reaching out! Yes right before you go to bake is perfect. Enjoy!
Made it today and it’s even better than I expected. I did a two hour rise first because I didn’t have three hours. Otherwise followed the instructions. Added fresh chopped rosemary and sprinkled garlic salt. Got it ready to use with a charcuterie board. Amazing!
Yay! So happy you liked it! Love the idea of using it on a charcuterie board….so good!
Hi….I’m wondering if instead of all purpose flour, can I use 00 flour and would there be any changes to times or ingredient amounts.
Hi Norma! Great question…King Arthur All Purpose flour is what I typically use and it’s protein content is a little higher (11.7%) than 00 flour but I think you’d be fine using the 00 flour in the same amounts because they both are “softer” flours. Please let me know how it works for you!
It will be nice if u could include ingredients in metric measurements…. Thank you….
Hi Jenn –
Thank you for the suggestion – I appreciate it! I hope to add the capability to convert the Imperial measurements to metrics in the future.