


For many, making (and eating) chili is a highly personal thing. People have their family recipes, their top-secret recipes, their secret ingredients. Heck, there are countless chili cook-offs in the United States. Chili is a sport, my friend. Sweating while eating a bowl of chili counts as exercise, right?
All that being said, I too have a chili recipe that I have made and tweaked and made and tweaked. Countless times.
As passionate as people are about chili, I find that it’s a dish that can also be very polarizing.

Save This Recipe!
Just one word divides chili people into 2 camps: beans.
We left them out of this chili recipe. If you are a passionate “chili with beans” fan, give this recipe a try first.
Caveat: if you love beans in your chili (and I understand completely), then add a few! Nothing bad is going to happen. They’ll add a nice bit of bulk and can help stretch the recipe for a crowd.
While most people love chili with cornbread, I love serving it with a big pan of fluffy focaccia. And a really big green salad.
This post contains links to affiliate websites including Amazon. I make a small commission for any purchases made using these links. Thank you!
The best meat for steak chili
This is a chili without beans. It’s made with a roast and makes such a meaty bowl of chili.

Alright. Now that we got the bean discussion out of the way, let’s get to the beef. I used to use a round bottom roast in this chili for many, many years. The chili WAS good – some might even say great- but I knew it could be better.
Chili meat needs marbly fat. Fat brings flavor.
The best cut of meat for chili is…
Chuck roast!
Why?
- Marbly fat – while you may have to do a little trimming up depending on where you purchase your roast, the chuck roast creates a load of flavor.
- Inexpensive – you can buy a lot at a reasonable price and serve chili to your friends and neighbors and family and passers-by.
- Texture – becomes super tender from low and slow cooking
Trim beef for chili
Trim and cut your meat with a sharp knife eliminating the big, obvious pieces of fat as you go. Set the meat aside on a cutting board until you need it.
Cut your meat lengthwise into 3 large pieces separating from the fat in between the sections. It should be fairly easy to distinguish these sections.
Next, cut each section into 2-3 sections and then crosswise into 1/2″ x 2″ long strips. This is an approximation as it’ll depend on your cut of meat and where the fat lies.
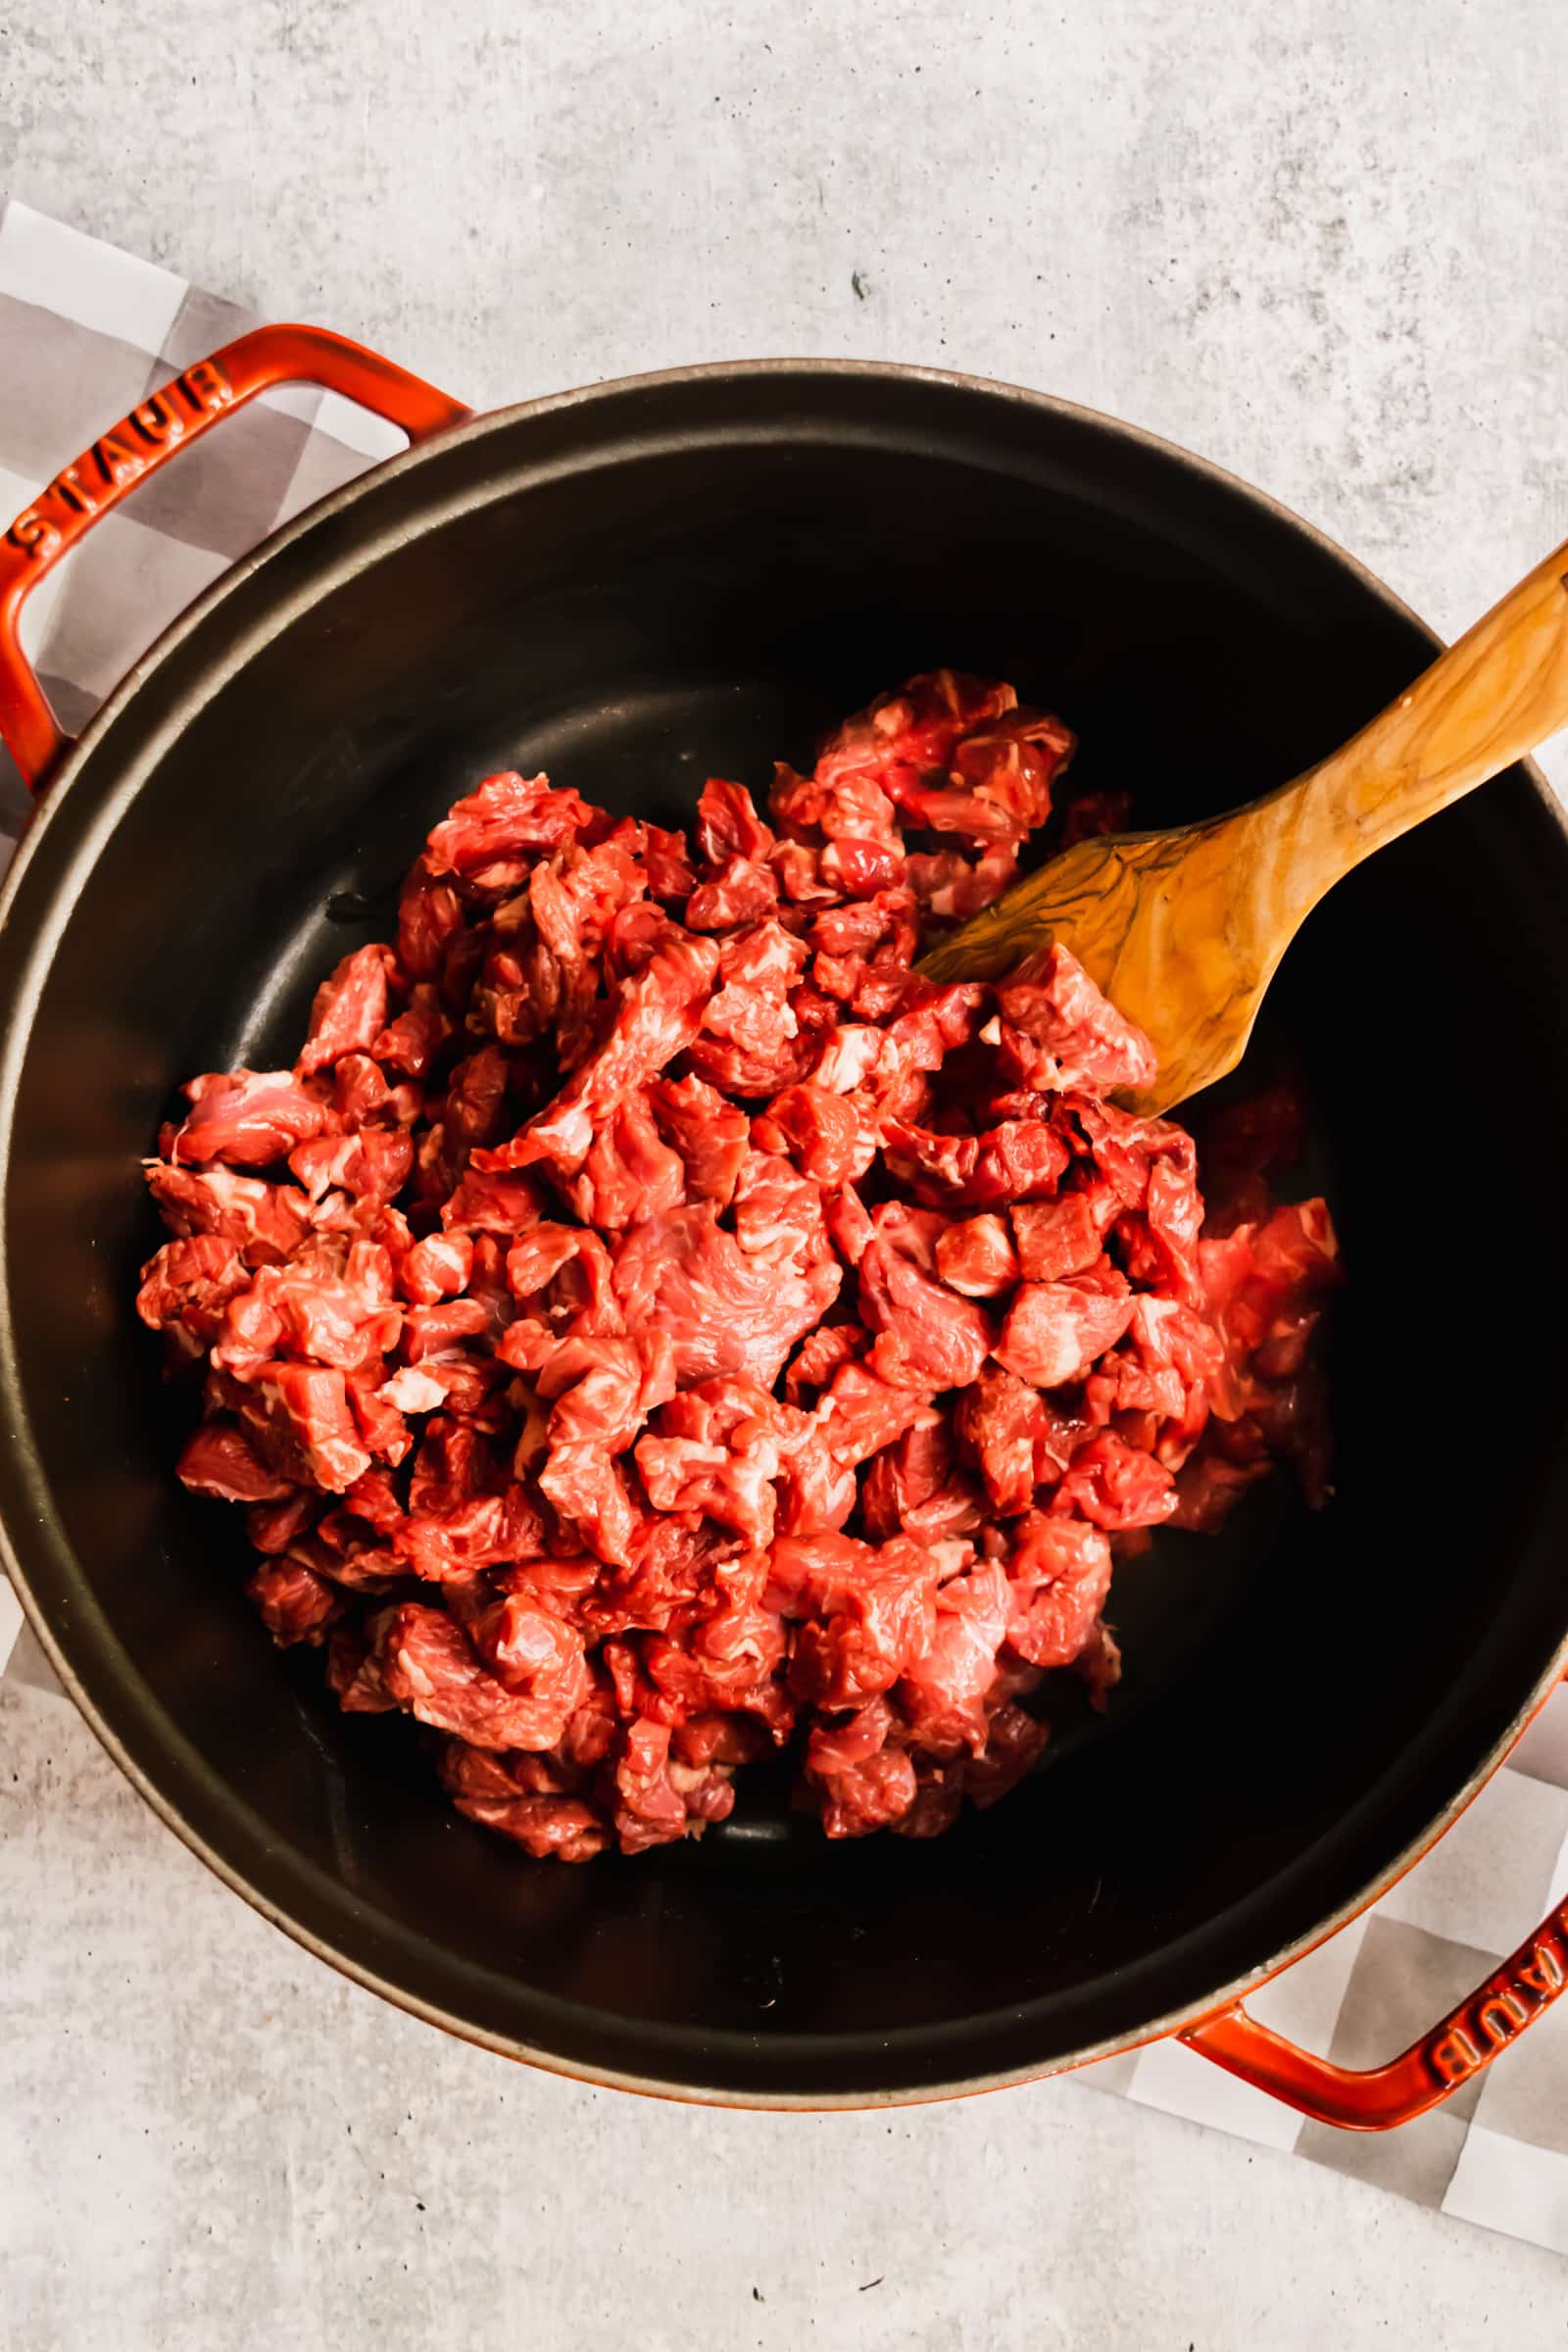
Step by step for meat only chili
This chili recipe is a little backward in that you don’t brown your meat first. And we aren’t using any packets, pouches, or cans of chili seasoning.


Crowd-pleasing chili toppings

While the chili is bubbling away, it’s time to assemble all your toppings. These are the toppings that have to be on the table when we have chili:
- sharp cheddar cheese
- Fritos or your favorite corn chip (my family lived in Texas and we adopted their tradition)
- onions – typically green but red or white work too!
- sour cream (not pictured)
Some other toppings:
- cornbread (either on the side or crumbled on top)
- elbow macaroni for a little chili mac
- hot sauce or sriracha
- pickled jalapenos

Made this recipe?
I’d love it if you’d share your review and leave a star rating and comment!

Homemade Steak Chili without Beans
SAVE THIS RECIPE
Ingredients
- 4 TBSP peanut oil, divided; can use canola or olive oil as well
- 6 lbs chuck roast, trimmed and diced into 1" pieces
- 1-2 large chopped onions, about 1 1/2 cups
- 4-6 TBSP chili powder, start with 4 and add more if needed
- 4 TBSP cumin
- 1 TBSP oregano
- 1 -2 tsp crushed red pepper, I start with 1 depending on the crowd being served
- 2 cans whole San Marzano tomatoes, 28 oz each. pureed in blender to desired consistency
- 6 oz can of tomato paste
- 1 qt. beef stock
- 2 TBSP sugar
- 1 TBSP salt
- 2 tsp pepper
Toppings
Instructions
- Puree tomatoes in a blender until almost smooth (for about 10 seconds).2 cans whole San Marzano tomatoes
- In a large dutch oven, heat half the oil over medium-high heat. Add chopped onions and saute until lightly browned about 4 minutes.4 TBSP peanut oil, 1-2 large chopped onions
- Add the spices and herbs (minus the salt and pepper) and saute the onions in the spice mixture for about 3 minutes toasting everything up all nice and good.4-6 TBSP chili powder, 4 TBSP cumin, 1 TBSP oregano, 1 -2 tsp crushed red pepper
- Move the onions and spices to one side of the pot. Add the remaining oil and brown the meat in batches until it gets a nice sear. Add more oil if you need it.6 lbs chuck roast
- When the last batch of meat has been browned, add all the meat back into the pot along with the beef stock, both kinds of tomatoes, and the sugar. Stir until everything is mixed together and season with the salt and pepper.6 oz can of tomato paste, 1 qt. beef stock, 2 TBSP sugar, 1 TBSP salt, 2 tsp pepper
- Bring to a low simmer. Taste for seasoning. This is when I'll add a little more chili powder or salt and pepper if needed. Reduce the heat to low. Simmer for about 2 1/2 hours until the meat is tender covering when the chili thickens after about 1 1/2 hours or so. Periodically check for seasoning.
- Serve big large bowls with toppings and bread (see below).corn chips , chopped green onions, sour cream, pickled jalapenos
Notes
- Toppings:
- corn chips
- shredded sharp cheddar cheese
- chopped green onions
- sour cream
- pickled jalapenos
- Serve with cornbread
- Make ahead tips:
- Can be made ahead and frozen for up to 3 months.
- Can be made 1-2 days before serving as well.


What changes would I make to do this in a crock pot since I don’t have a dutch oven?
Hi Bob – so what would do is cook the onions with the seasoning and brown the meat per the recipe in a separate pan as that’s how you’re going to get the most flavor. Then I would transfer the seasoned beef and onions into the crockpot, add in the remaining ingredients per the recipe. Depending on your crock pot and your schedule, I’d try one of two methods: 1)set it to either 6-8 hours on low and let it go or 2)start on high for an hour or so and then reduce it to low for 3-4 hours. You’ll know it’s done when the meat is really tender. Please let me know how it works and happy to answer any more questions!
This chili is sooo delicious! I made it for a football Sunday and everyone loved it! Even better for leftovers and was great to pack for my lunches! Whenever I’m looking for a good recipe, Josie and Nina is always my go-to!
Awww Amelia! This made my day! SO happy my chili was a part of your football Sunday! Picturing such a cozy day🧡 Thanks for taking the time to share 😊
The best football Sunday meal! I start around noon and let it simmer till right about three pm or so- the best!
What kind of sugar, Brown or regular sugar?
We will be making this but we don’t need a lot I am only planning on buying 2lbs of meat.
How do I adjust the amount of seasoning and beef broth?
Hi Jessica! All great questions😊- use regular granulated sugar. And for the seasoning and beef broth -start with 2 Tablespoons each of chili powder and cumin and 1 teaspoon of oregano. For the crushed red pepper, start with 1/4 -1/2 teaspoon depending on how spicy you like things. I’d start with 1 tsp of salt and 1/2 tsp of pepper. For the beef broth, use 1 3/4 cup of broth and 1/2 can of tomato paste. I adjust the seasonings after tasting. Please let me know how you all like it! And thanks for trying it!!
When simmering over the 2.5 hours, do you recommend covering the pot? I enjoy your recipes and the stories you share about your grandmothers.
Thank you for the kind comment, Emma! Yes, you cover it once it thickens. I will make sure the recipe reflects that. Please let me know how you like the chili!😀
Hi Lori! Can’t wait to try this. Looks delish! What size cans for tomatoes/paste? 28/8? Thanks!
Hey Marie! The paste I use a whole 6 oz can and the tomatoes are a 28 oz one. I’ll adjust the post to reflect this! Thanks!
Here I am in Los Altos Hills, Ca. It is so very cold tonight! 45 degrees! So, I will make this dish so we can survive the harsh Bay Area winter. 🙂
thanks for this recipe. I will make it and I will send you pictures!
Yay – thanks Marsha! Hope you are well out there where it’s SO cold 😂 – enjoy nonetheless! And please do!
I made it! It is fabulous!!! Got some very nice pictures, too!
Will send to you.
Yay! So happy you guys enjoyed it! Hope sunny Cali is treating you well – you’re missing nothing here but icy cold!
Today, would be a great for some chili. This is a Lori Murphy staple. Perfect for any snowy day. Even better for leftovers.
♥️ thanks JP! you’re always my biggest cheerleader xox